Healthy, high-protein pizza dough. Try this no-yeast Greek yogurt pizza crust recipe for a quick and easy dinner.

This Greek yogurt pizza crust is everything you want in a quick and easy pizza dough — simple ingredients, no rise time, and ready in under 30 minutes. It bakes up golden and crisp, giving you a sturdy, flavorful base for all your favorite toppings.
Each batch has 36 grams of protein, so it’s more satisfying than your usual crust. Whether you’re craving homemade pizza on a weeknight or just want a lighter option that still tastes great, this recipe is one you’ll want to keep on repeat. You’ll also love my easy pizza beans recipe.
Why you’ll love this Greek yogurt pizza crust
- Higher in protein. Using Greek yogurt in the dough adds more protein than traditional recipes, which helps make your pizza more satisfying and filling.
- No rise time needed. This dough skips the yeast, so you can go from mixing to baking without waiting around.
- Simple ingredients. You only need flour, Greek yogurt, baking powder, and salt — no fancy ingredients or extra grocery trips required.
Ingredient notes
Scroll down to the recipe card for the full ingredients list and detailed recipe.
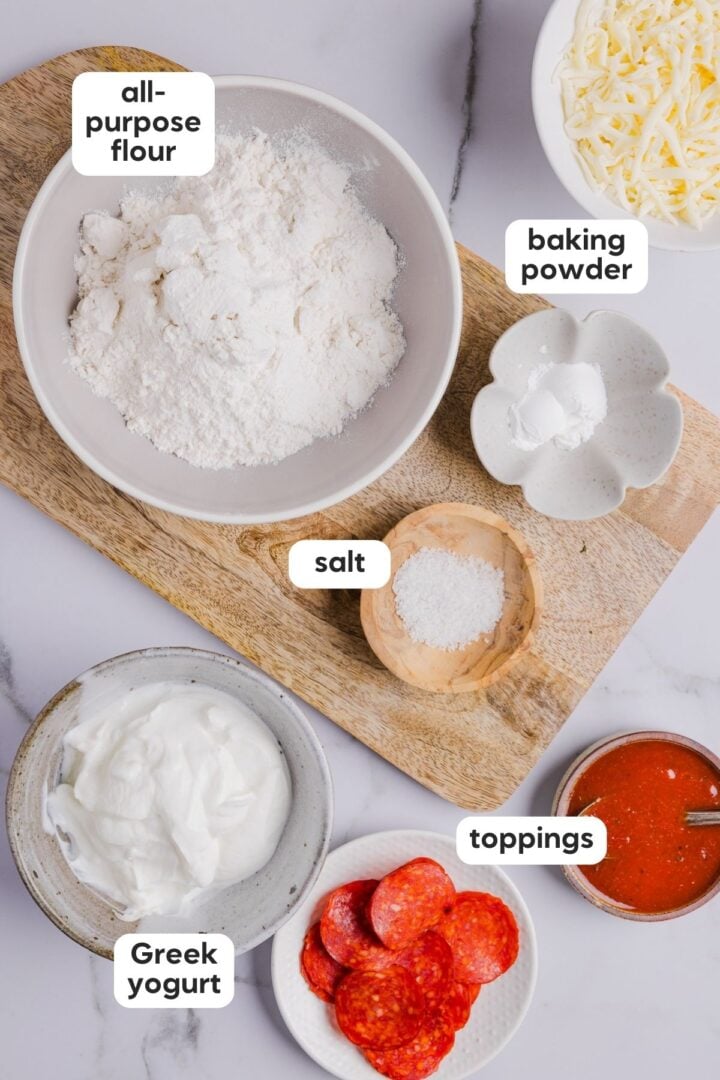
- All-purpose flour: I use all-purpose flour in this Greek yogurt pizza crust because it’s accessible and budget-friendly, but you can swap in whole wheat flour if you want more fiber.
- Baking powder: This replaces yeast to keep things quick. No rise time needed, and the crust still bakes up light and crisp.
- Salt: Salt adds essential flavor to your dough, so don’t skip it.
- Greek yogurt: Mixing flour with Greek yogurt adds protein and makes the dough tender. I recommend non-fat or low-fat for maximum protein, especially since toppings like cheese can bring more richness to your pizza.
How to make pizza dough with Greek yogurt
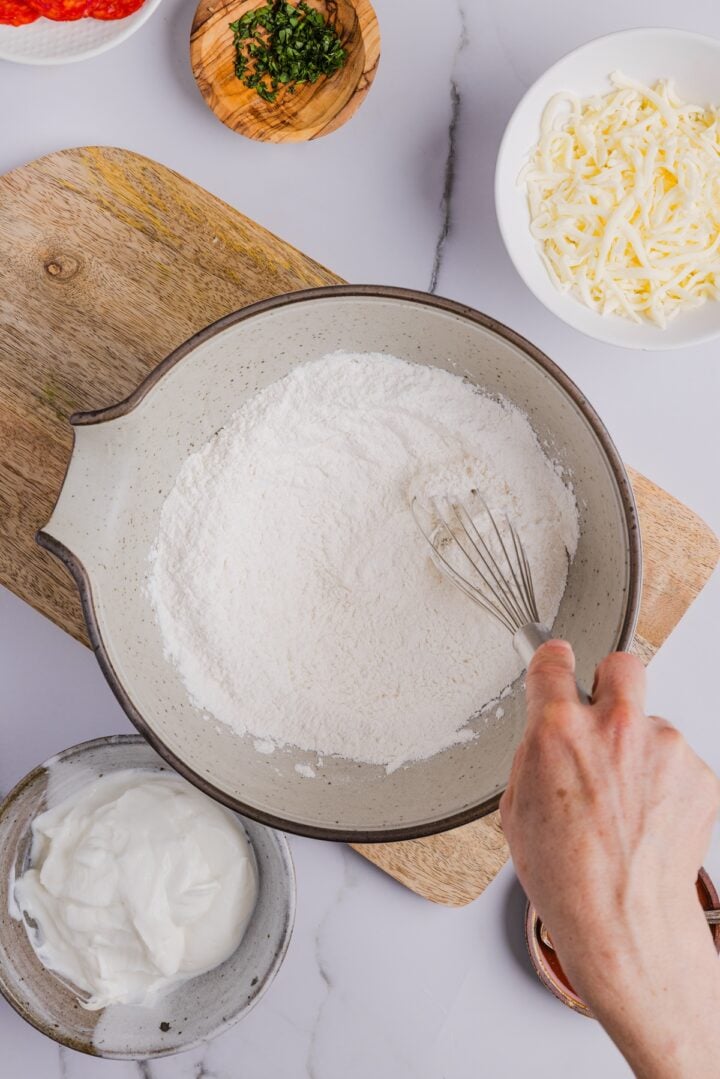
Step 1: Mix dry ingredients together.
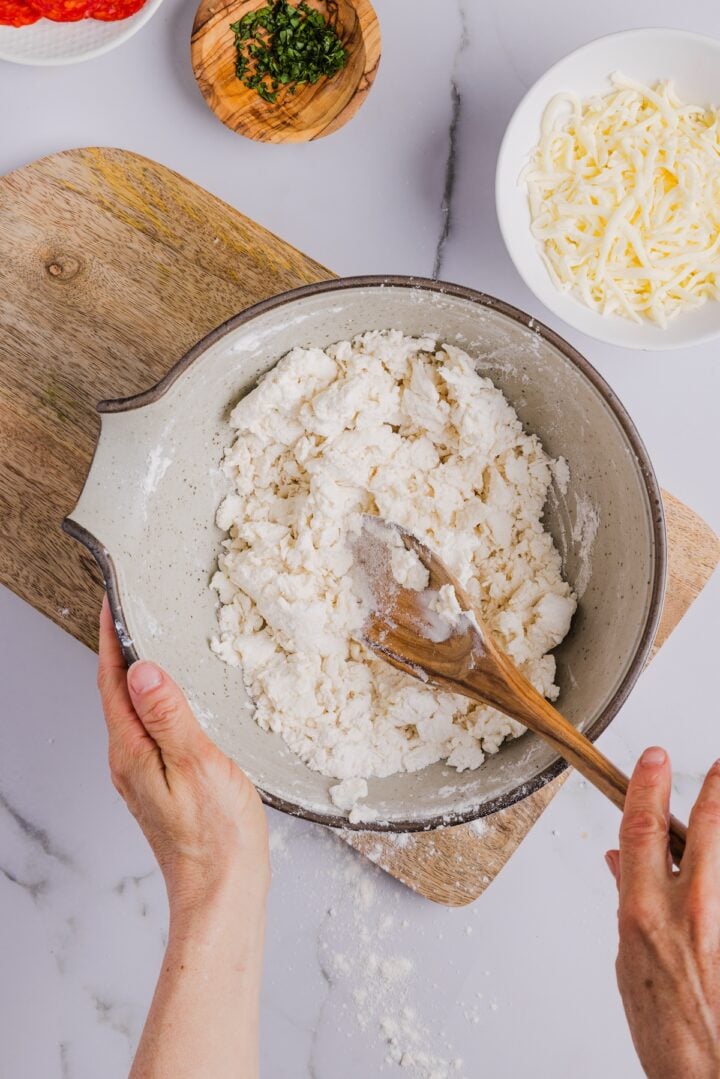
Step 2: Add Greek yogurt and mix.
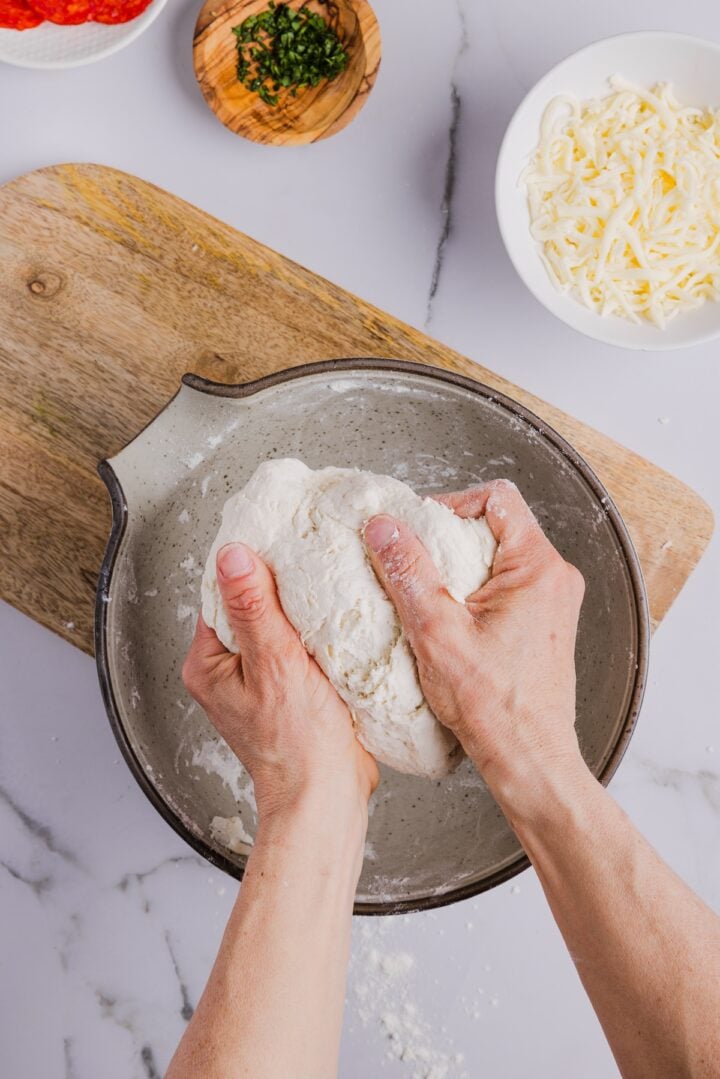
Step 3: Knead dough until smooth.
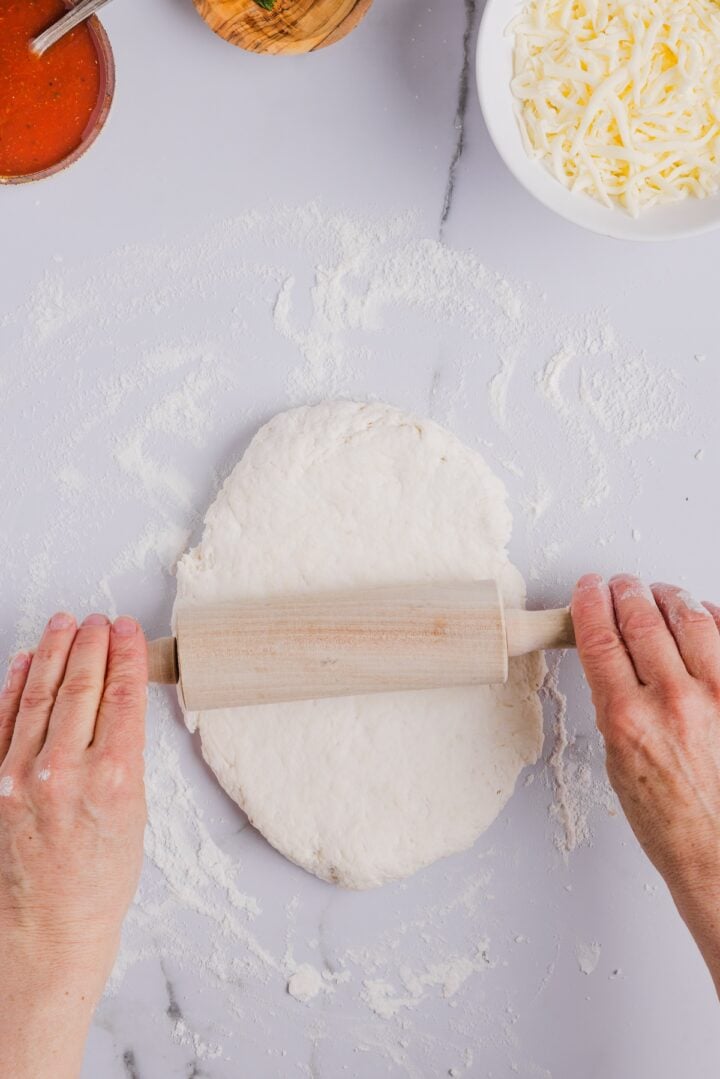
Step 4: Roll out on a generously floured surface.
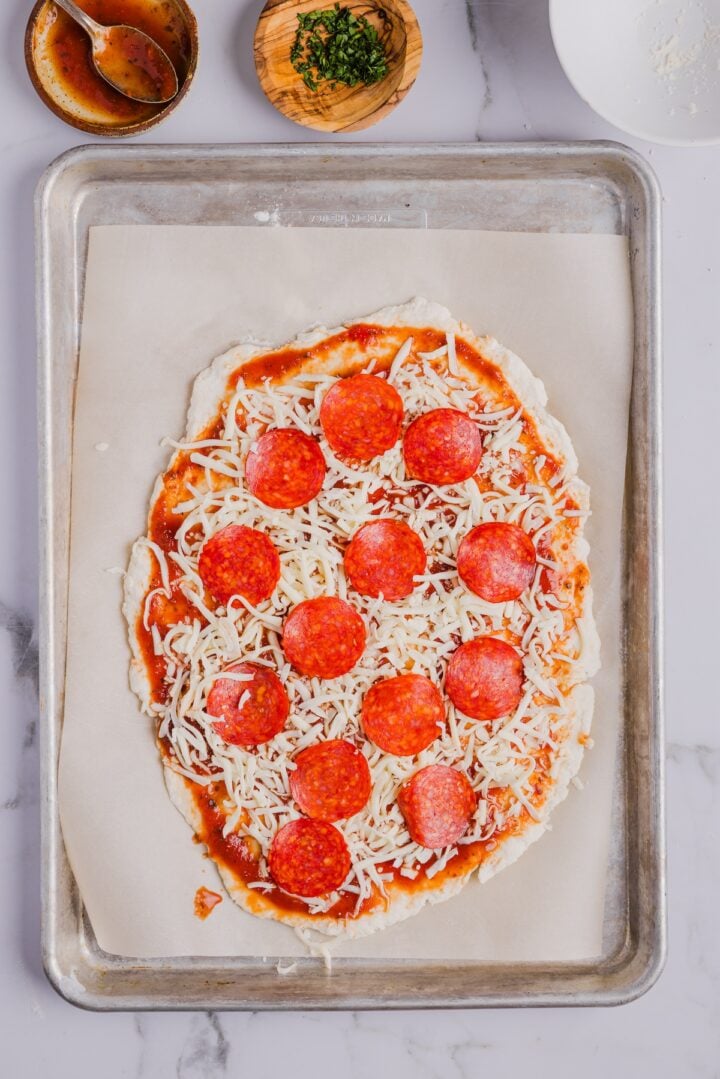
Step 5: Add toppings.
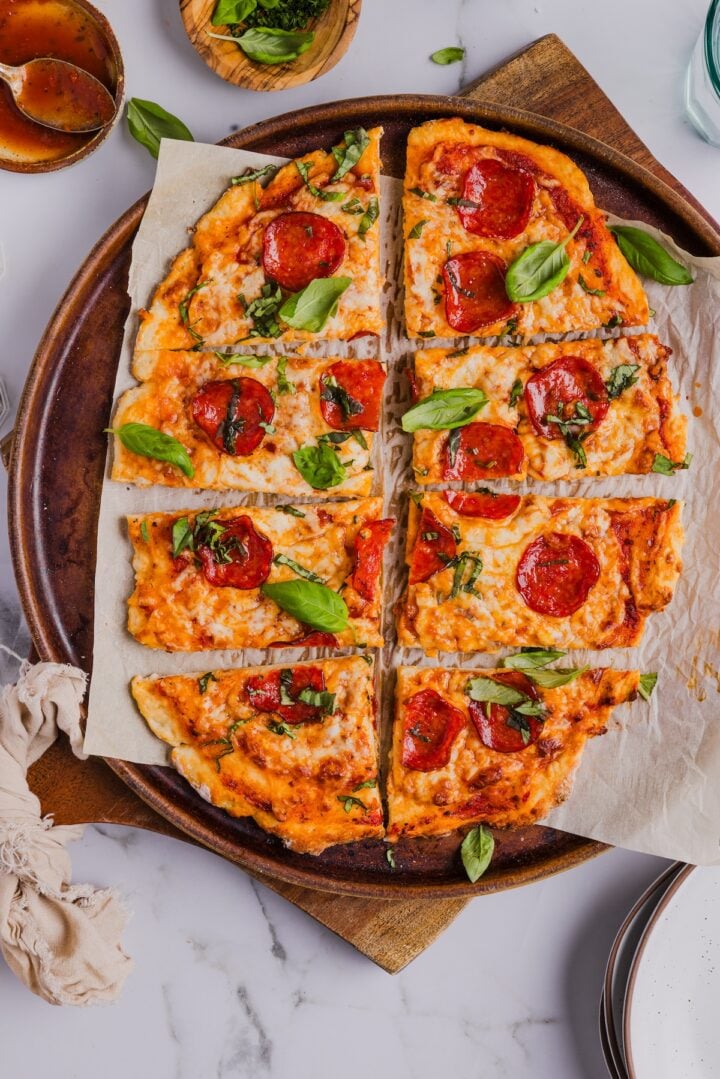
Step 6: Bake for 15-20 minutes at 500 F. Let it rest, and enjoy!
Topping ideas
Customize your flavors and add nutrition with toppings. Here are some ideas:
- Sauce — pizza sauce, pesto, vodka sauce, white sauce, BBQ sauce
- Cheese — mozzarella, cheddar, pepperjack, parmesan, feta, ricotta
- Protein — cooked chicken, turkey pepperoni, crumbled sausage, ground beef, lentils
- Veggies — bell pepper, onion, spinach, arugula, tomatoes, artichoke, roasted red peppers, mushrooms, pineapple
- Flavor — hot honey, chili flakes, chili oil, basil or other herbs, jalapeños, olives, green goddess ranch
My favorite toppings: I love this Greek yogurt pizza crust with pizza sauce, part-skim mozzarella, turkey pepperoni, pickled jalapeños, and a generous drizzle of hot honey.
How to serve Greek yogurt pizza
If you top your pizza with protein and veggies, it can be a balanced and filling meal on its own. It makes a delicious healthy lunch or dinner.
For some extra nutrition, serve with a side of veggies. Try my antipasto salad, grinder bean salad, simple chopped veggies, or any roasted or air fried vegetables you like.
Dietitian-approved upgrades
- Use whole wheat flour in your dough
- Try low fat cheese
- Add cooked chicken for extra protein
- Pile on the veggie toppings and serve with a side salad
Storage and re-heating
- Bake, slice, then store leftovers in the fridge or freezer.
- Fridge: Store for up to four days.
- Freezer: Store for up to three months.
- Re-heat: Re-heat in the oven for a few minutes at 500 F. Or, heat in the air fryer for 3-4 minutes at 400 F. Keep a close eye on your pizza to prevent burning.

Top tips
- Use flour generously. You’ll need a generously floured surface to roll your dough thin and prevent sticking, so don’t be afraid to use extra flour as needed.
- Roll your pizza crust thin. This dough is best when it’s rolled thin for maximum crispness and texture. Roll it as thin as you can get it!
- Bake until golden. The exact cooking time will depend on your oven and how thin you’ve rolled your dough. Keep baking until your dough has a golden and crisp crust.
More healthy dinner ideas
Homemade Chicken Nuggets
Ground Beef Taco Cups
Sweet Potato Burger Bowls
Lazy High Protein Lasagna
One-Pan Chicken Sausage Orzo
Buffalo Chicken Taquitos
Common questions
It’s best to use the dough right after mixing, since the baking powder starts working immediately. If you prep it too far ahead, the crust may turn out too dense. If needed, you can make it a few hours in advance — just wrap it tightly and store it in the fridge until you’re ready to bake.
Yes, feel free to swap white all-purpose flour for whole wheat for more fiber and protein.
Yes, self-rising flour already contains baking powder and salt, so it works as a shortcut. Just mix it with Greek yogurt for an easy 2-ingredient dough. Keep in mind the texture might be slightly different, since the ratios aren’t exactly the same as in the original recipe.
Yes, you can split this recipe for Greek yogurt pizza dough into two dough balls for single-serve pizzas. Adjust cook time as needed — and you may need to bake on two separate pans.
Leave a rating and review!
Loved this recipe? Leave a 5-star rating below. And don’t forget to share on Instagram.

Greek Yogurt Pizza Crust
Equipment
Ingredients
- 1 cup all purpose flour, spooned and levelled
- 1 ½ tsp baking powder
- ½ tsp salt
- 1 cup plain non-fat or low-fat Greek yogurt
Instructions
- Position oven rack to the middle and pre-heat to 500 F. Line a sheet pan with parchment paper and set aside.
- In a large mixing bowl, combine flour, baking powder, and salt. Whisk.
- Add greek yogurt and mix with a spoon until a shaggy dough forms.
- Use your hands to knead the dough for 2-3 minutes or until it's mostly smooth. It won’t be quite as smooth as regular pizza dough and that’s okay.
- Transfer to a generously floured surface and roll out until it's as thin as you can get it. Make sure you shape the dough to fit your sheet pan — I usually roll into a rectangle.
- Carefully transfer to the lined sheet pan and add toppings.
- Bake for 15-20 minutes, or until the edges and bottoms are golden brown and crisp. Let it rest for 5-minutes after baking and enjoy!
Notes
- Use the spoon and level method to measure flour so you don’t use too much.
- Flour your work surface generously to prevent your dough from sticking.
- Use parchment paper and not aluminum foil to prevent sticking while baking.
Nutrition
Nutrition information is automatically calculated, so should only be used as an approximation.




This is so delicious! I use it to make calzones when I don’t feel like cooking. I’ve often just halved the recipe and made a single serving. All of your recipes are delicious, and I appreciate how you include the nutritional information.
I made this crust last week with whole wheat flour for added fibre. It was easy to make, delicious, and I like that that the Greek yogurt provides extra protein. I will be making again!